Set up the Oracle Cloud Marketplace integration
Last updated: November 10, 2026
Clazar connects to your Oracle tenancy with an API signing key that belongs to a dedicated Clazar user. The setup takes about 15 minutes and needs an Oracle tenancy administrator.
You'll switch between the two: steps 1, 2, 4 and 6 are in the Oracle Console, and steps 3, 5 and 7 are in Clazar.
Before you start (in Oracle)
Finish these in Oracle first. Clazar can't connect until they're done.
Join Oracle PartnerNetwork (OPN). To sell paid listings or private offers, the membership must belong to a legal entity in the United States.
Accept the Oracle Cloud Marketplace Agreement (OCMA). For paid listings, also complete Oracle's supplier registration.
Register as a publisher (Marketplace → Publisher → Publisher Registration) and wait for Oracle to approve it.
Subscribe your tenancy to US East (Ashburn).
Sign in to your home region as someone who can create users, groups and policies.
Pick the identity domain for the Clazar user. Most tenancies use Default. If yours puts users in another domain, use that domain wherever these steps say Default.
Oracle's guides: Becoming an OCI Partner and Publisher and Registering as a Marketplace Publisher.
Step 1 — Oracle: Create a group
OCI Console → ☰ → Identity & Security → Domains → Default → User management → Groups → Create group
In another domain, choose it instead of Default, here and in steps 2 and 6.
Name it ClazarIntegration and choose Create.
Step 2 — Oracle: Create the Clazar user
Identity & Security → Domains → Default → User management → Users → Create
Field | Value |
|---|---|
First name |
|
Last name |
|
Username / Email |
|
Use the email address as the username | On |
Groups |
|
Choose Create.
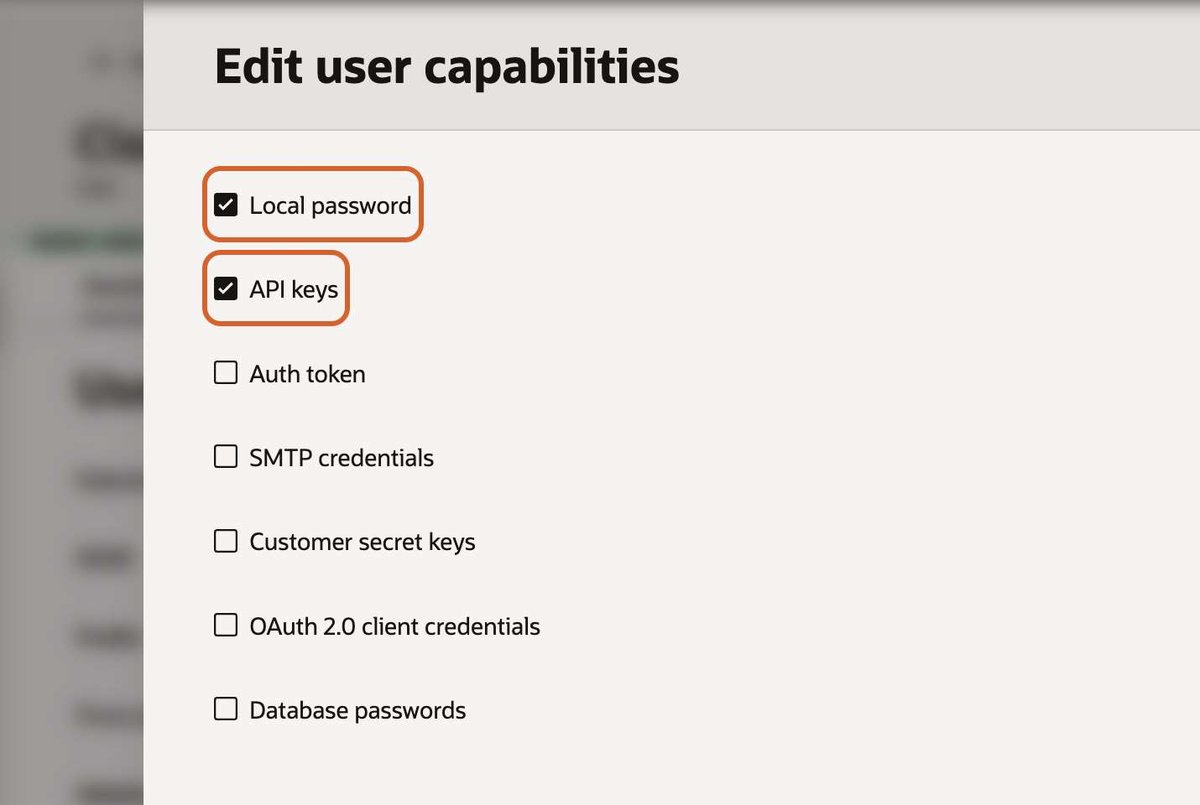
Optional (recommended): on the new user, choose Actions → Edit user capabilities. Keep Local password and API keys ticked, untick the rest, and save. Oracle ticks every capability by default, and Clazar uses only these two.
Step 3 — Clazar: Start the connection
Go to Integrations → Oracle Cloud Marketplace → Add Connection.

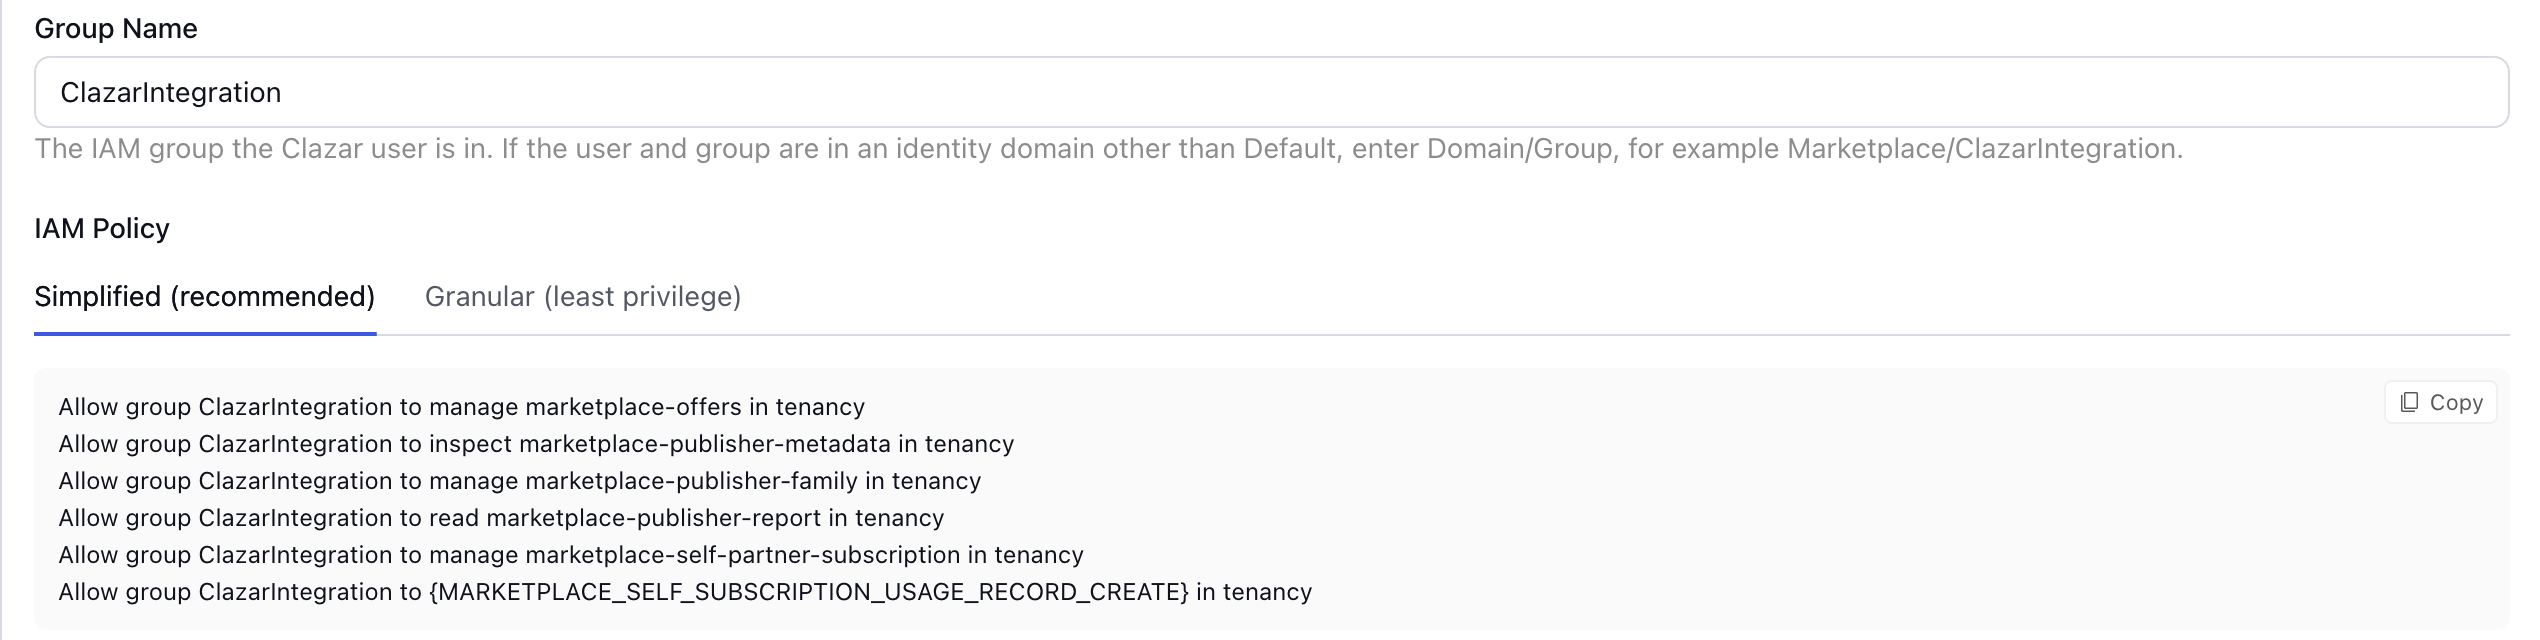
Group Name:
ClazarIntegration. In another domain, enter<domain>/<group>, for exampleMarketplace/ClazarIntegration. If a name has spaces, type it as Oracle shows it; the drawer quotes it in the policy.Permissions: keep them all ticked
IAM Policy: keep Simplified
Keep the drawer open until step 7. It shows the policy for step 4 and the key for step 5.
Step 4 — Oracle: Create the policy
Identity & Security → Policies → Create Policy
Field | Value |
|---|---|
Name |
|
Description |
|
Compartment | Your root compartment, marked (root) |
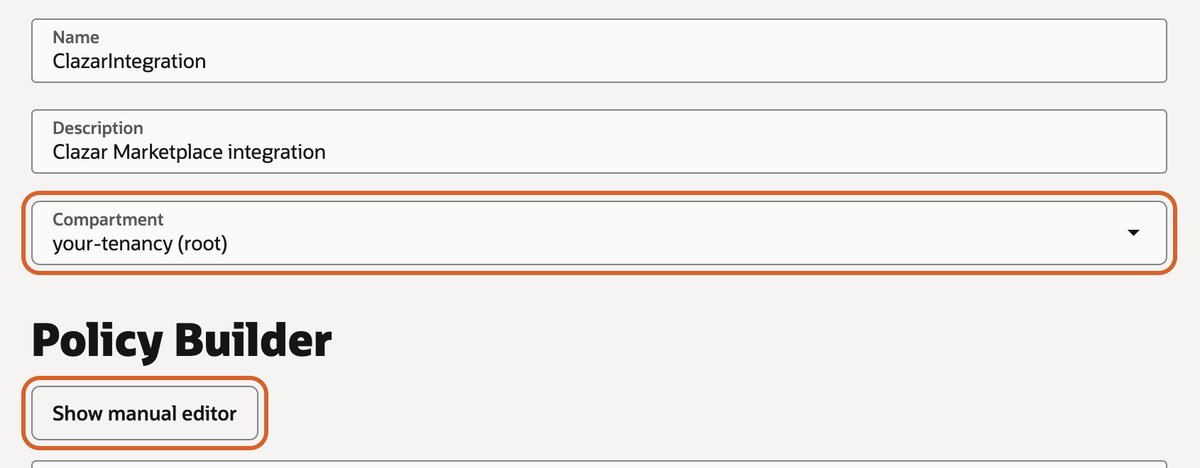
Choose Show manual editor, paste the statements from the Clazar drawer with Copy, and choose Create. With all permissions ticked they are:
Allow group ClazarIntegration to manage marketplace-offers in tenancy
Allow group ClazarIntegration to inspect marketplace-publisher-metadata in tenancy
Allow group ClazarIntegration to manage marketplace-publisher-family in tenancy
Allow group ClazarIntegration to read marketplace-publisher-report in tenancy
Allow group ClazarIntegration to manage marketplace-self-partner-subscription in tenancy
Allow group ClazarIntegration to {MARKETPLACE_SELF_SUBSCRIPTION_USAGE_RECORD_CREATE} in tenancy
Step 5 — Clazar: Generate the API key
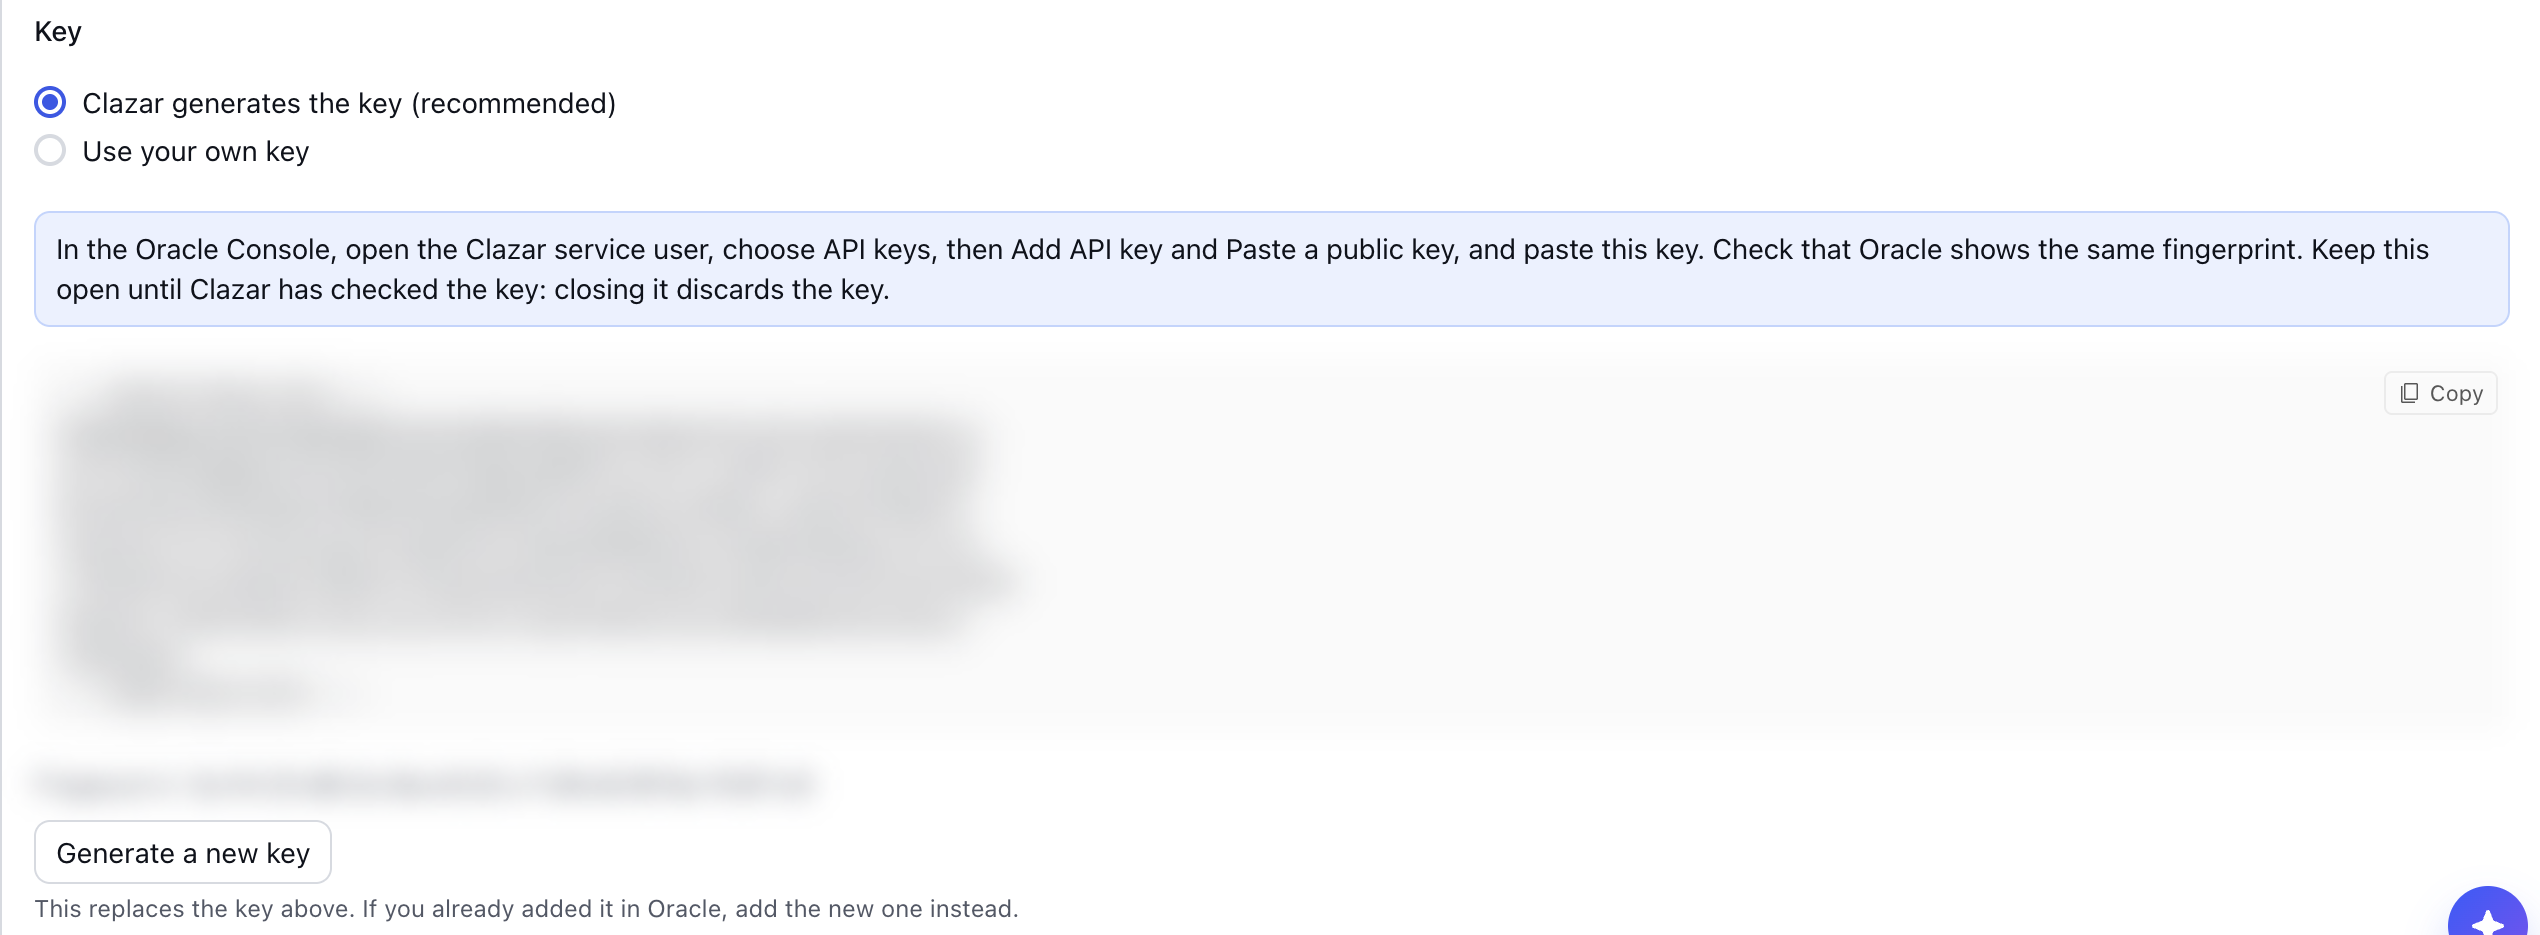
In the drawer, under Key, keep Clazar generates the key and choose Generate key. Copy the public key.
Step 6 — Oracle: Add the API key to the Clazar user
Go to Identity & Security → Domains → Default → User management → Users →
oracle.onboarding@clazar.io→ API keys → Add API key → Paste a public key.Paste the public key from step 5 and choose Add.
Check that the fingerprint Oracle shows matches the one in Clazar.
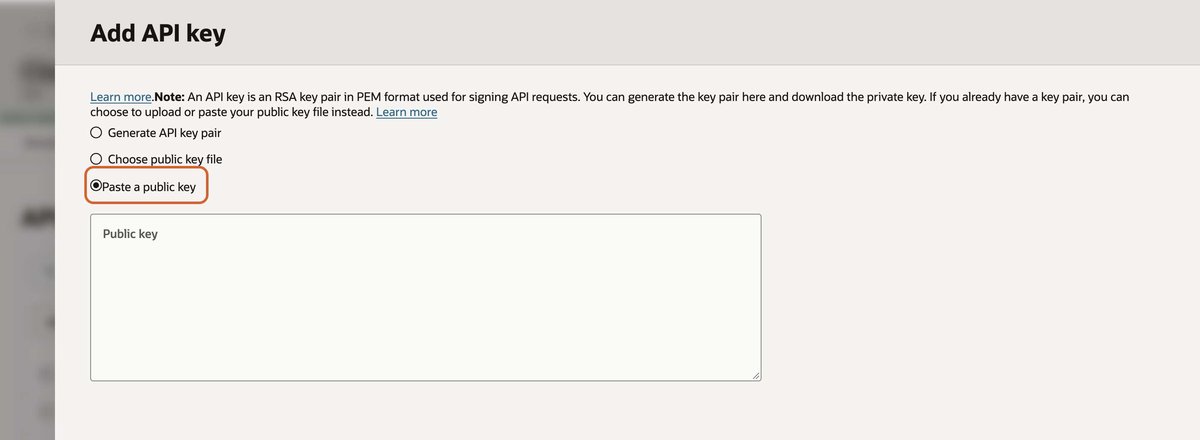
Oracle then shows a Configuration file preview. Keep it open for step 7.
Step 7 — Clazar: Connect
Copy these from the configuration file preview into the drawer and choose Connect:

Clazar field | From Oracle |
|---|---|
Tenancy OCID |
|
User OCID |
|
Region | Your home region, such as |
Clazar checks the key, finds your publisher, and tests each permission it can. Nothing is saved unless the key works.
Replace your API key
Oracle recommends replacing API keys every 90 days. The connection stays connected while you do.
Clazar: on the connection card, open the menu and choose Replace API key, then choose Generate key.
Oracle: add the new public key to the same user, as in step 6.
Oracle: when Clazar shows "API key replaced", delete the old key from the user's API keys. Check the fingerprint first.
Change permissions
Clazar syncs nothing while the connection is disconnected, so do these steps together.
Clazar: on the connection card, open the menu and choose Disconnect. This removes the API key from Clazar.
Clazar: choose Edit and tick or untick permissions.
Oracle: if you use Granular, update your policy with the drawer's statements.
Clazar: choose Generate key. Oracle: add the new public key to the Clazar user, as in step 6. Clazar: choose Connect.
Oracle: delete the old key from the user's API keys. Check the fingerprint first.
Troubleshooting
Message starts with | What to do |
|---|---|
"Oracle didn't let Clazar read your publisher" | Check: your publisher registration is approved; the tenancy is subscribed to US East (Ashburn); the Clazar user is in the group; the policy is in the root compartment. A new policy may take a few minutes to apply. |
"Oracle has no Marketplace publisher for this tenancy" | Finish Before you start, then connect again. |
"Tenancy OCIDs start with ocid1.tenancy." | Copy the |
"Oracle didn't accept this API key" | Check the User OCID and that the key is on that user with the same fingerprint. A new key can take a couple of minutes to work. |
"Oracle didn't let Clazar read your listings", "… your private offers" or "… your reports" | Add the statement the message names to your policy, then connect again. |
"Oracle stopped accepting this API key" | Choose Replace API key on the connection card. If the key was only deactivated in Oracle, reactivate it, then choose Check connection. |
Other messages say what to fix.
Advanced
Use your own key
On the user's API keys, choose Add API key → Generate API key pair → Download private key → Add. In Clazar, choose Use your own key and enter the fingerprint and the whole .pem file. Make sure the file ends with a line that says OCI_API_KEY; add it if not.
To protect the key with a passphrase, make it with OpenSSL instead, because the Console can't set one:
mkdir -p ~/.oci && chmod 700 ~/.oci
openssl genrsa -aes256 -out ~/.oci/clazar_api_key.pem 2048
openssl rsa -in ~/.oci/clazar_api_key.pem -pubout -out ~/.oci/clazar_api_key_public.pem
openssl rsa -in ~/.oci/clazar_api_key.pem -pubout -outform DER | openssl md5 -c
echo OCI_API_KEY >> ~/.oci/clazar_api_key.pem
The last-but-one command prints the fingerprint. Paste clazar_api_key_public.pem with Add API key → Paste a public key, then enter the fingerprint, the private key and the passphrase in Clazar.
Grant only some permissions
In the drawer, untick what you don't want and choose Granular under IAM Policy. The drawer shows the matching statements.
Clazar permission | Granular statement |
|---|---|
View Private Offers |
|
Manage Private Offers |
|
View Listings |
|
Manage Listings |
|
View Reports |
|
Manage SaaS Subscriptions |
|
Report Usage |
|
Clazar tests View Listings, View Private Offers and View Reports when you connect. Oracle has no way to test the others without making a change, so a missing one shows up the first time Clazar uses it.
If you already ran Oracle's OCI Marketplace Setup stack
Listings: you can add the Clazar user to the stack's
MarketplacePublishersgroup instead of creating a group.Private offers: still create the policy in step 4. The stack's private offer policy names a group
OfferAdmins, but the group it creates isMarketplaceOfferAdmins, so that group grants no private offer access.
Related articles
Oracle: Required Keys and OCIDs
Oracle: Private offer IAM policies and Marketplace publisher IAM policy