AWS Marketplace Public Offer Purchase Guide — Buyer Flow
Last updated: November 17, 2026
Overview
A buyer purchases a public SaaS offer in five steps: find the product, click View purchase options, configure and confirm the purchase, click Set up your account, and complete registration on the seller's page.
A public offer is the standard listing price any AWS customer can buy, with no negotiation needed. Charges land on the buyer's AWS bill. The flow differs slightly by pricing model:
Pricing model | What the buyer chooses | Button to confirm | When billed |
|---|---|---|---|
SaaS contract (upfront commitment) | Units or tier, duration, auto-renewal | Create contract → Pay now | Upfront, on purchase |
SaaS contract with pay-as-you-go | Same as contract; extra usage billed beyond it | Create contract → Pay now | Upfront, plus monthly overage |
SaaS subscription (usage-based) | Nothing to size; pay for what you use | Subscribe | Monthly in arrears |
Free trial | Trial, if the listing offers one | Subscribe / Try for free | Free until the trial ends |
Step 1 — Find the product listing
Sign in to the AWS account that should own the subscription and be billed for it, then open the product's listing page.
Sign in to the AWS Marketplace console with that account. In AWS Organizations, this is often the management (payer) account.
Open the listing using one of these:
Seller's link. Click the AWS Marketplace link the seller shared.
Search. Go to Discover products, search the product name, and click the listing. Filter by Pricing model (Upfront commitment or Usage based) if the seller has more than one listing.
Check that the listing is the right one: product name, seller name and pricing model match what the seller told you.
Step 2 — View purchase options and configure
Click View purchase options on the listing, then set up the purchase on the page that opens.
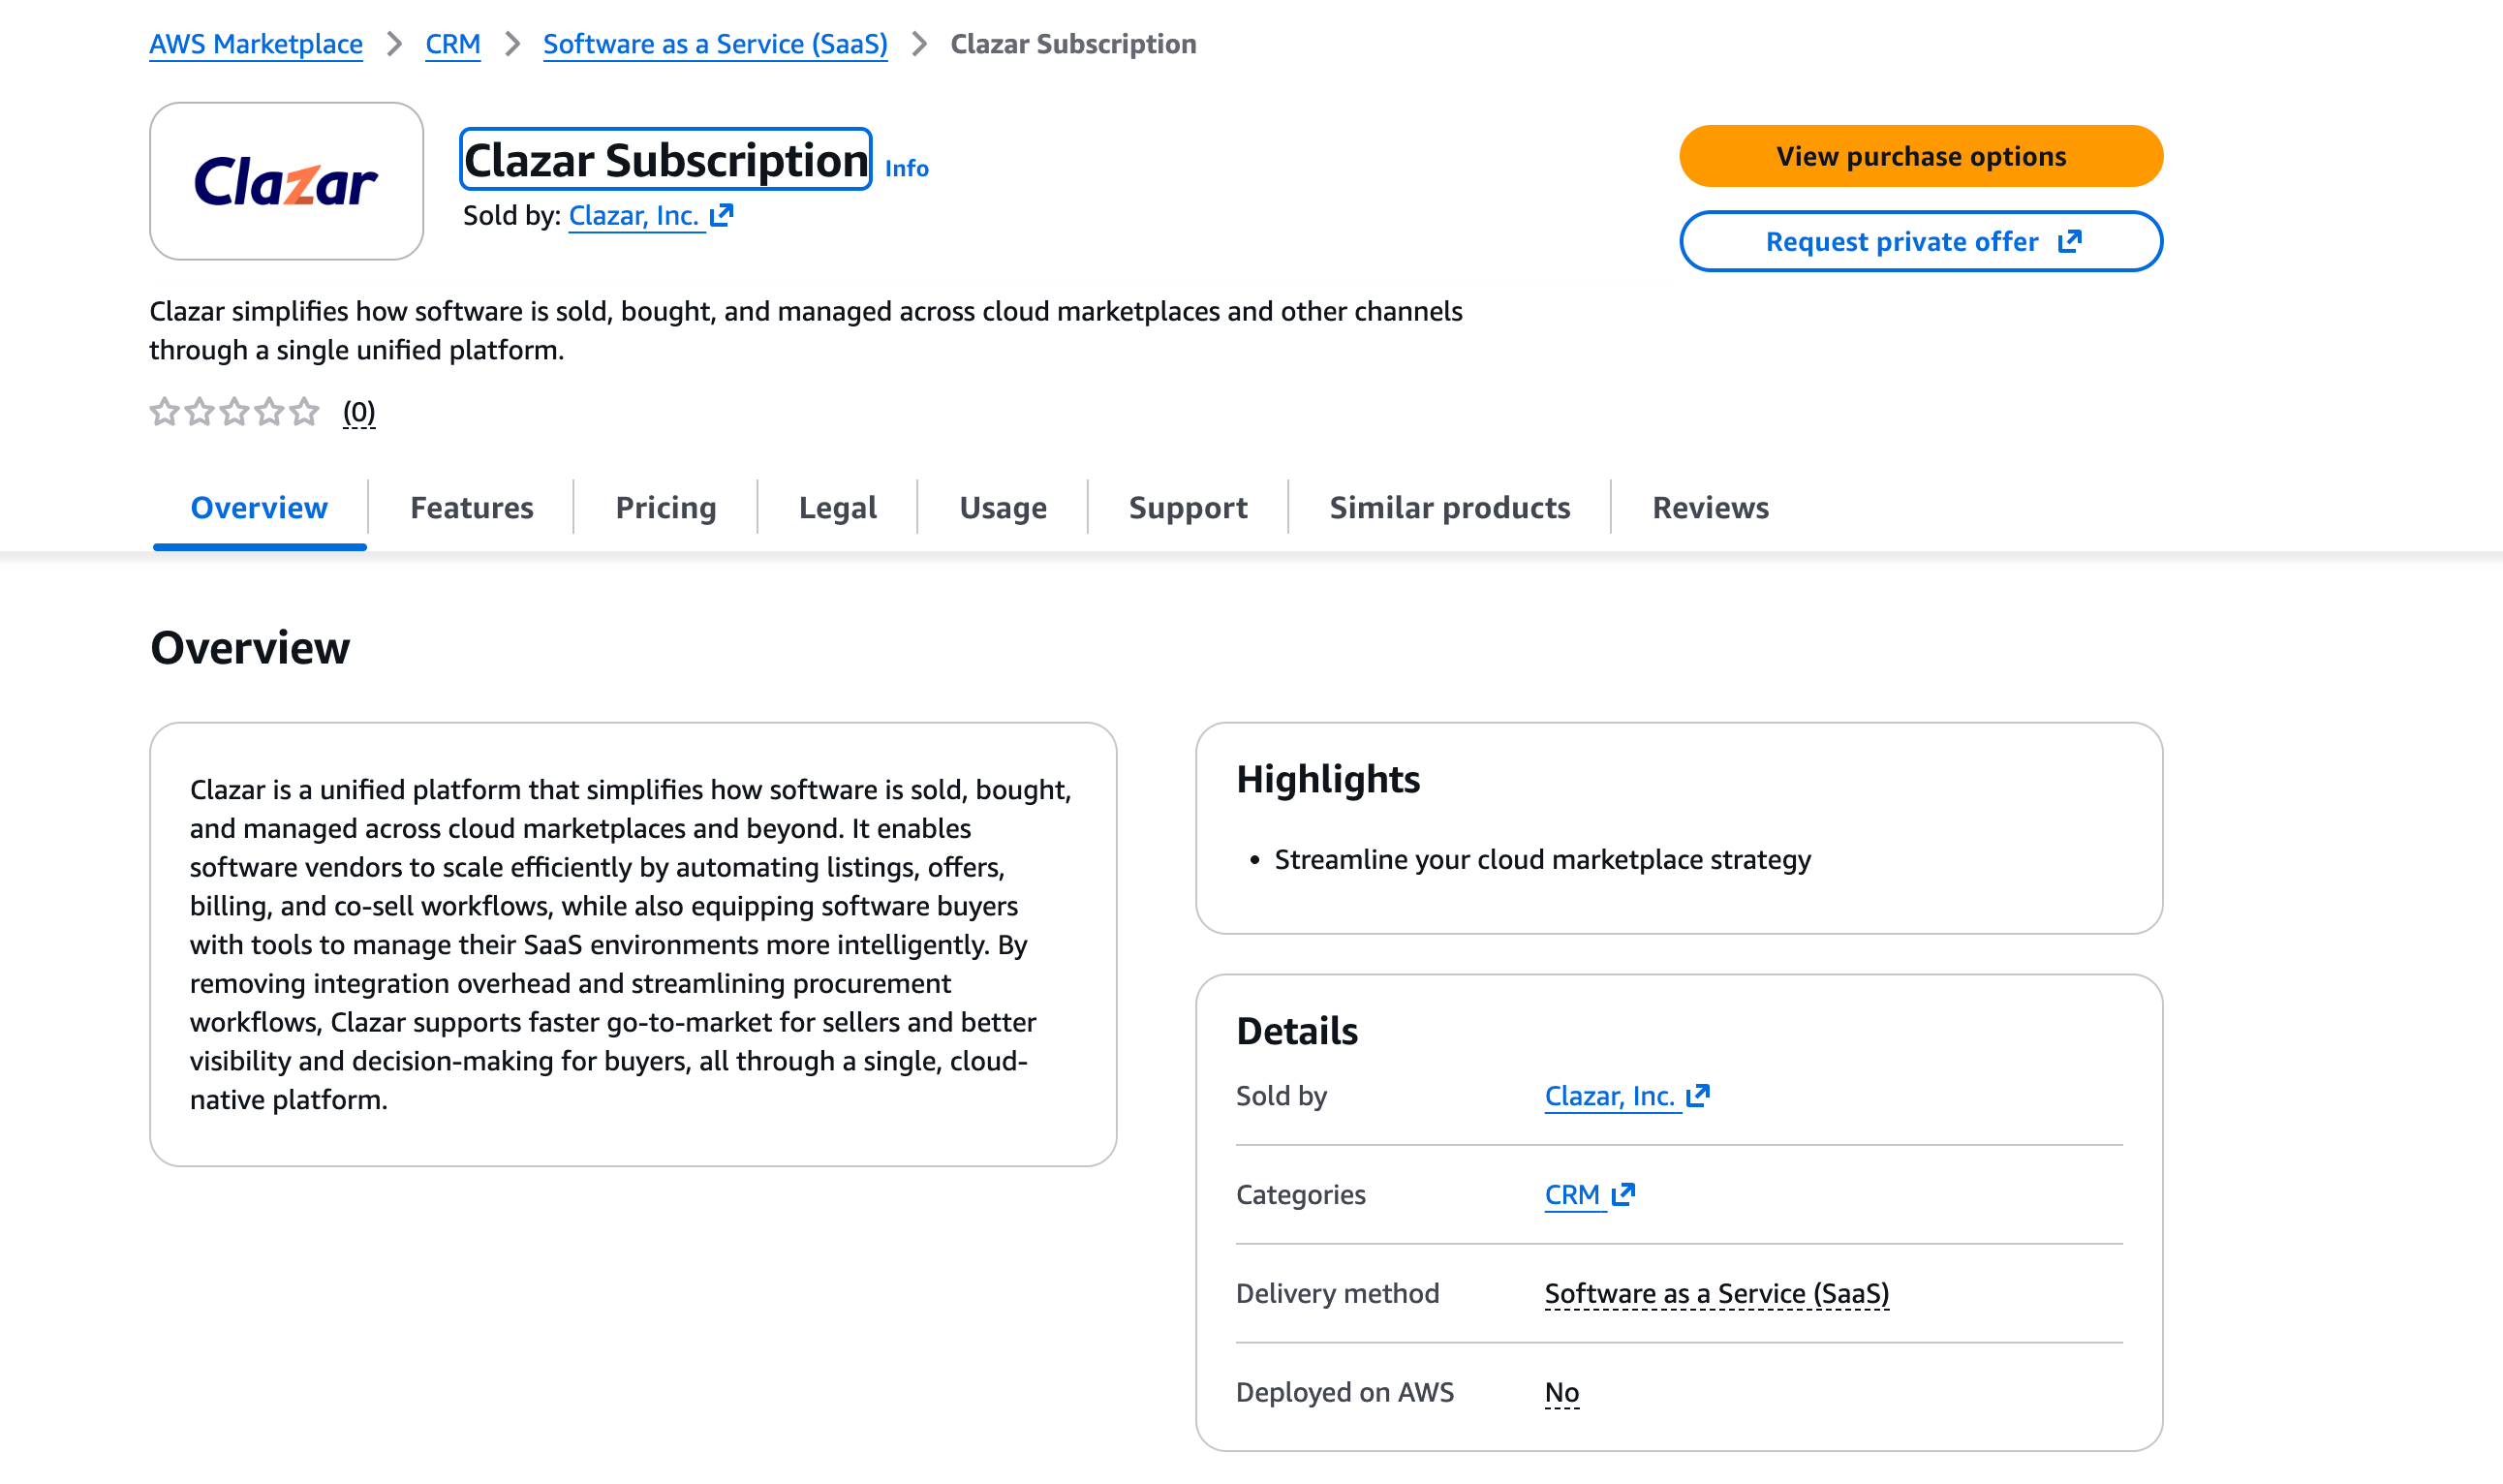
Click View purchase options at the top of the listing.
If the product has both, confirm Public offer is selected under Offer type (a private offer extended to you shows here too).
For a SaaS contract, configure:
Contract duration — for example 1 month, 12, 24 or 36 months, as the seller offers.
Renewal settings — turn automatic renewal on or off.
Contract options — either pick one tier, or enter a quantity for each unit (seats, credits, environments), depending on how the seller built the listing.
For a SaaS subscription (usage-based), there is nothing to size; review the per-unit usage prices.
Optionally enter a purchase order number so it appears on your AWS invoice.
Review the total contract price and any charges for extra usage beyond the contract, then read the EULA linked on the page.
Step 3 — Confirm the purchase
The confirm button depends on the pricing model; click it once and don't refresh while AWS processes it.
SaaS contract
Click Create contract at the bottom of the page.
In the payment prompt, check the amount and click Pay now. The contract amount is charged upfront to the payment method on your AWS account.
AWS shows a confirmation and emails you an invoice with the purchase details.
SaaS subscription (usage-based) or free trial
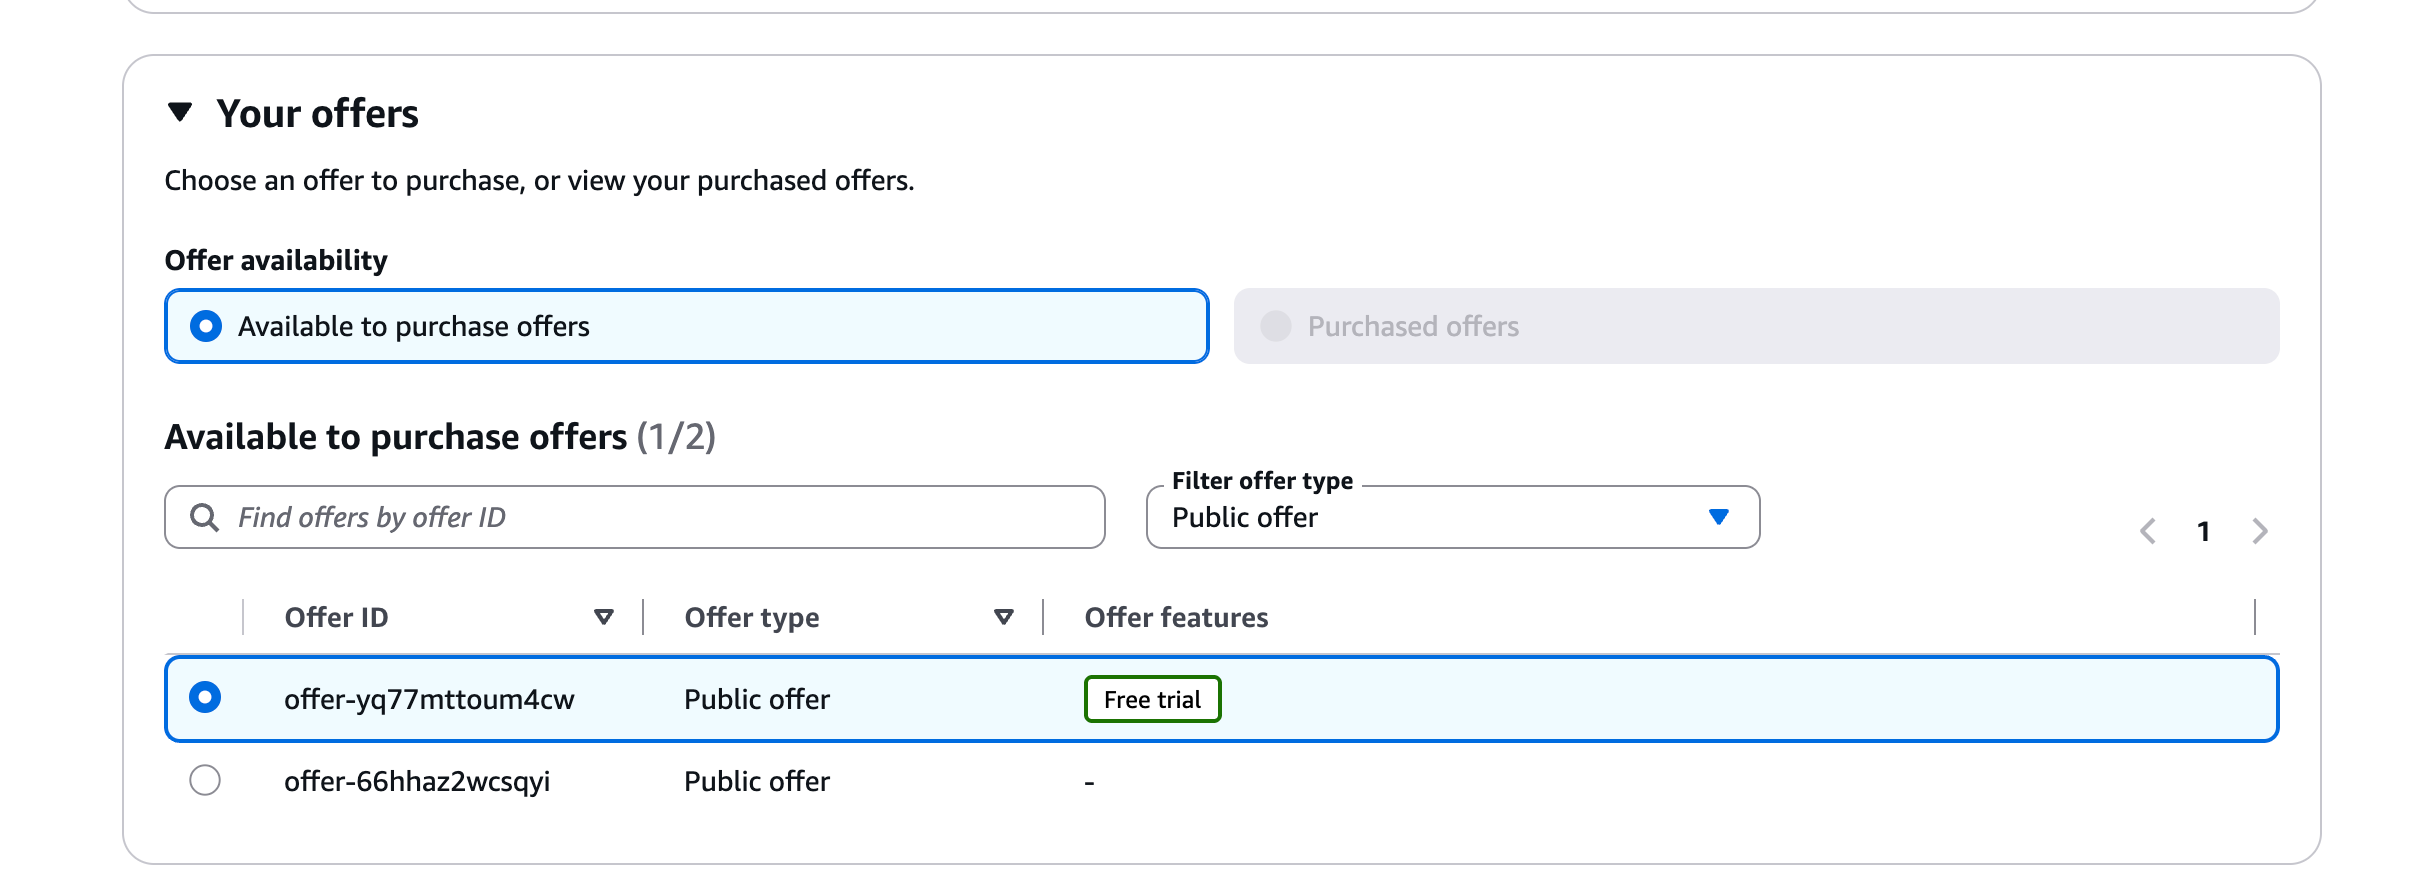
Click Subscribe (or Try for free on a trial).
Nothing is charged now; usage is billed monthly on your AWS bill (or after the trial ends).
After either one, the page shows a confirmation banner with a Set up your account button. Until you complete Step 4, the subscription may show as pending on the product page.
Step 4 — Set up your account (SaaS registration)
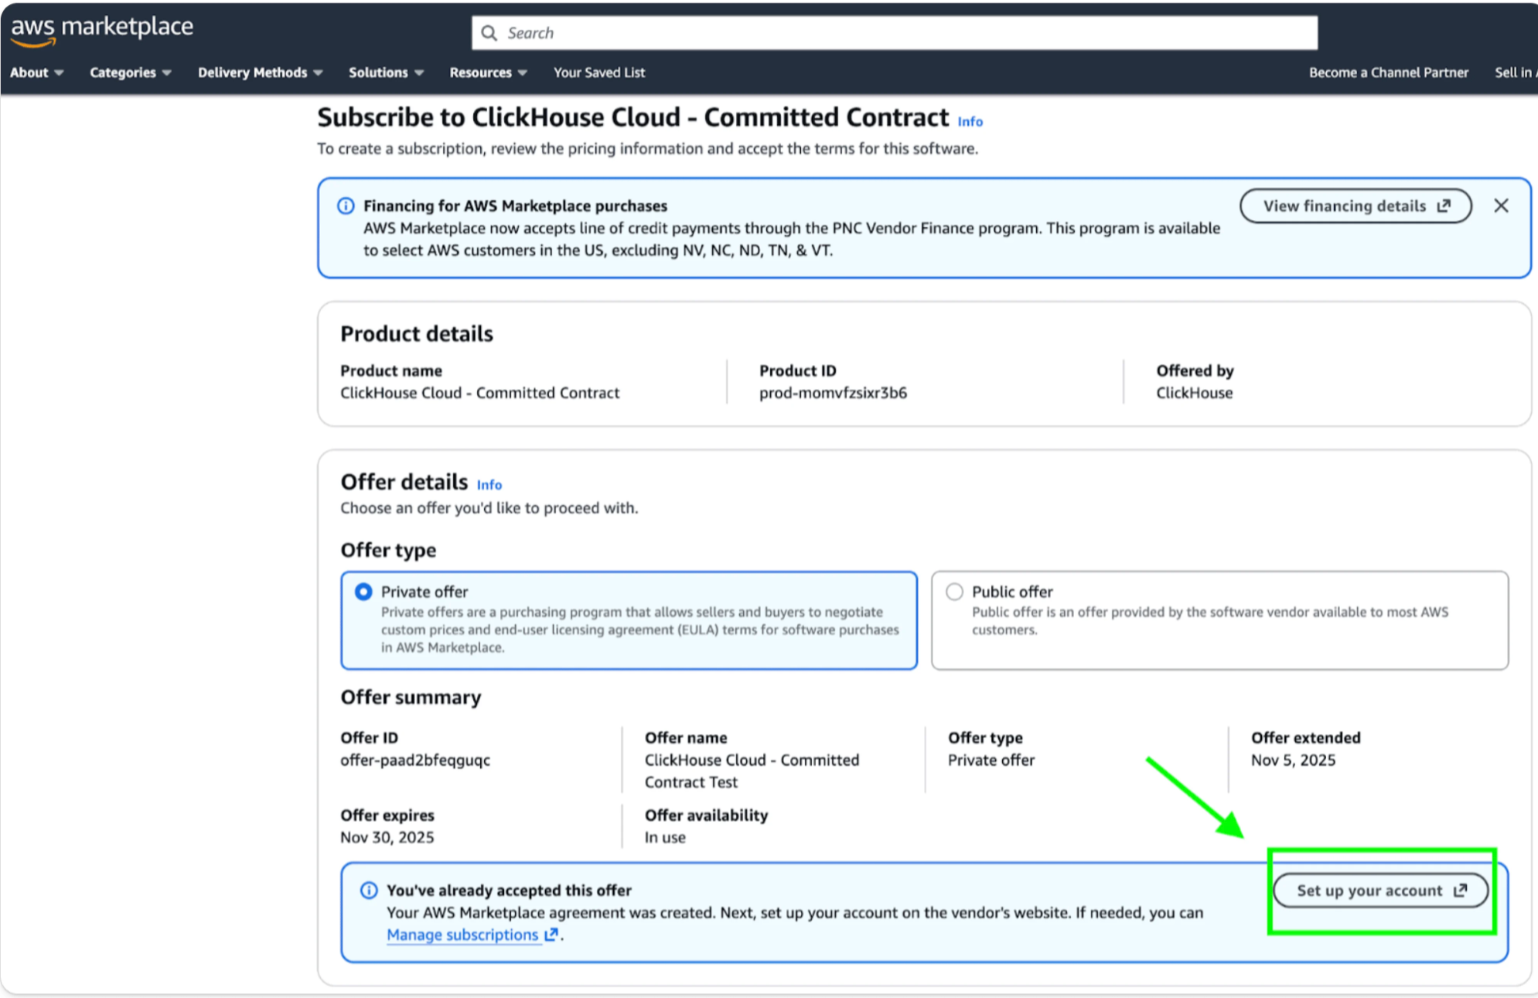
Click Set up your account so the seller can link your AWS purchase to an account in their product. Skipping this leaves you billed in AWS but with no product access.
On the confirmation banner, click Set up your account.
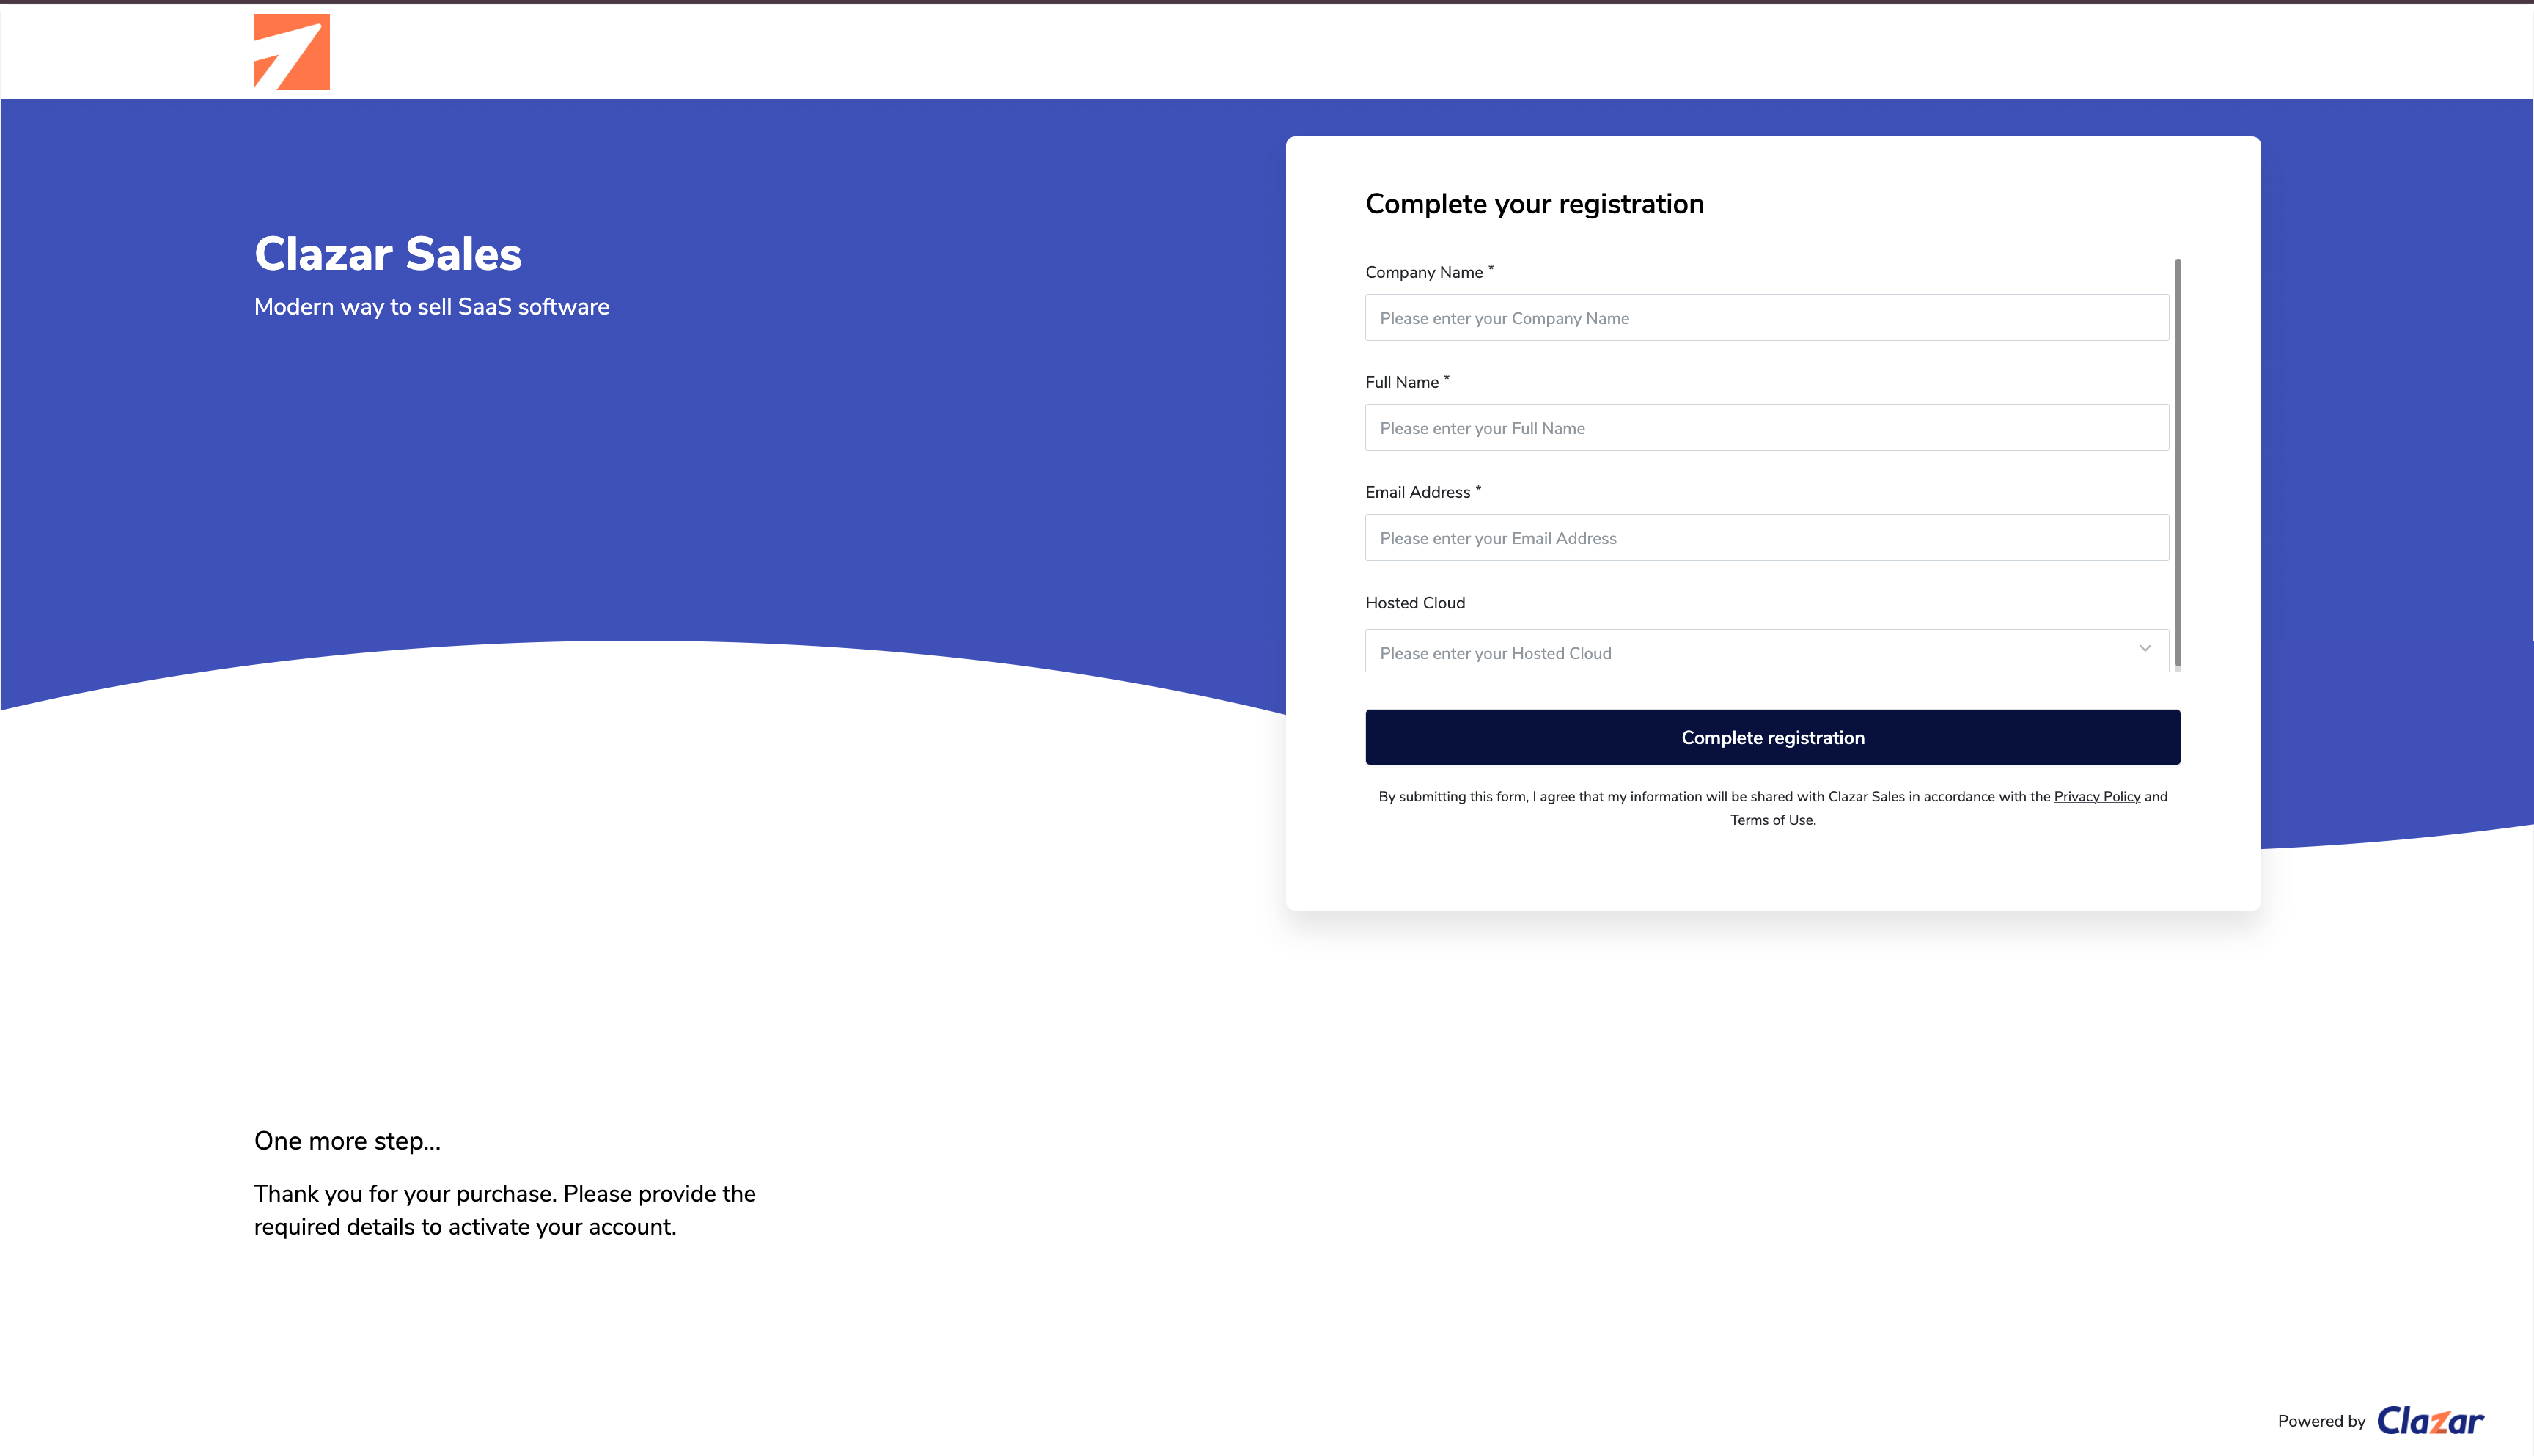
AWS opens the seller's registration page in a new tab. This page is reachable only through this redirect from AWS Marketplace, not by a public link.
Fill in the seller's form: Company Name, Full Name and Email Address are typical; some sellers ask for more, or ask you to sign in to an existing account instead.
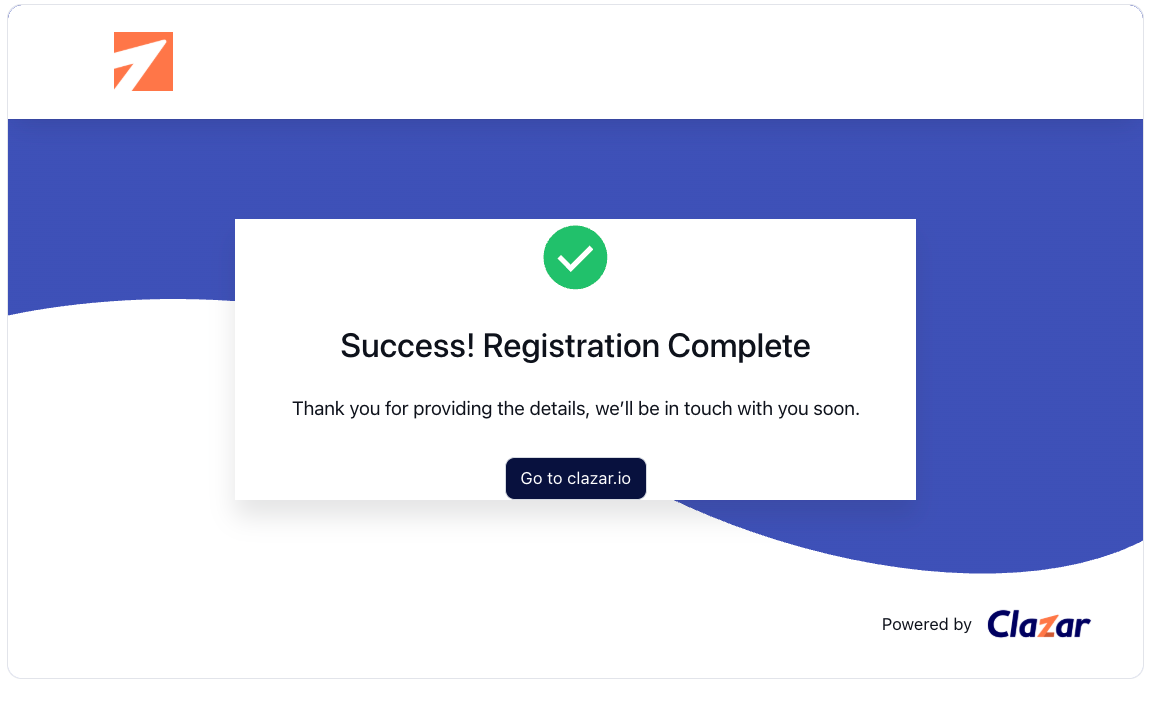
Submit the form (the button name varies by seller). The seller shows a confirmation page.
Watch for the seller's welcome or activation email.
Missed the button? In the AWS Marketplace console, go to Manage subscriptions, find the product, and click Set up product, then Set up your account.
Step 5 — Confirm the subscription
You're done when the product shows as active in AWS and you can sign in to the seller's product.
AWS confirmation email (and, for contracts, the invoice) received.
Product listed under Manage subscriptions in the AWS Marketplace console, no longer pending.
Seller's registration completed and welcome/activation email received.
Charges appear on your AWS bill: upfront for contracts, monthly for usage-based subscriptions.